Sunday, April 29, 2012

Garlic Bread


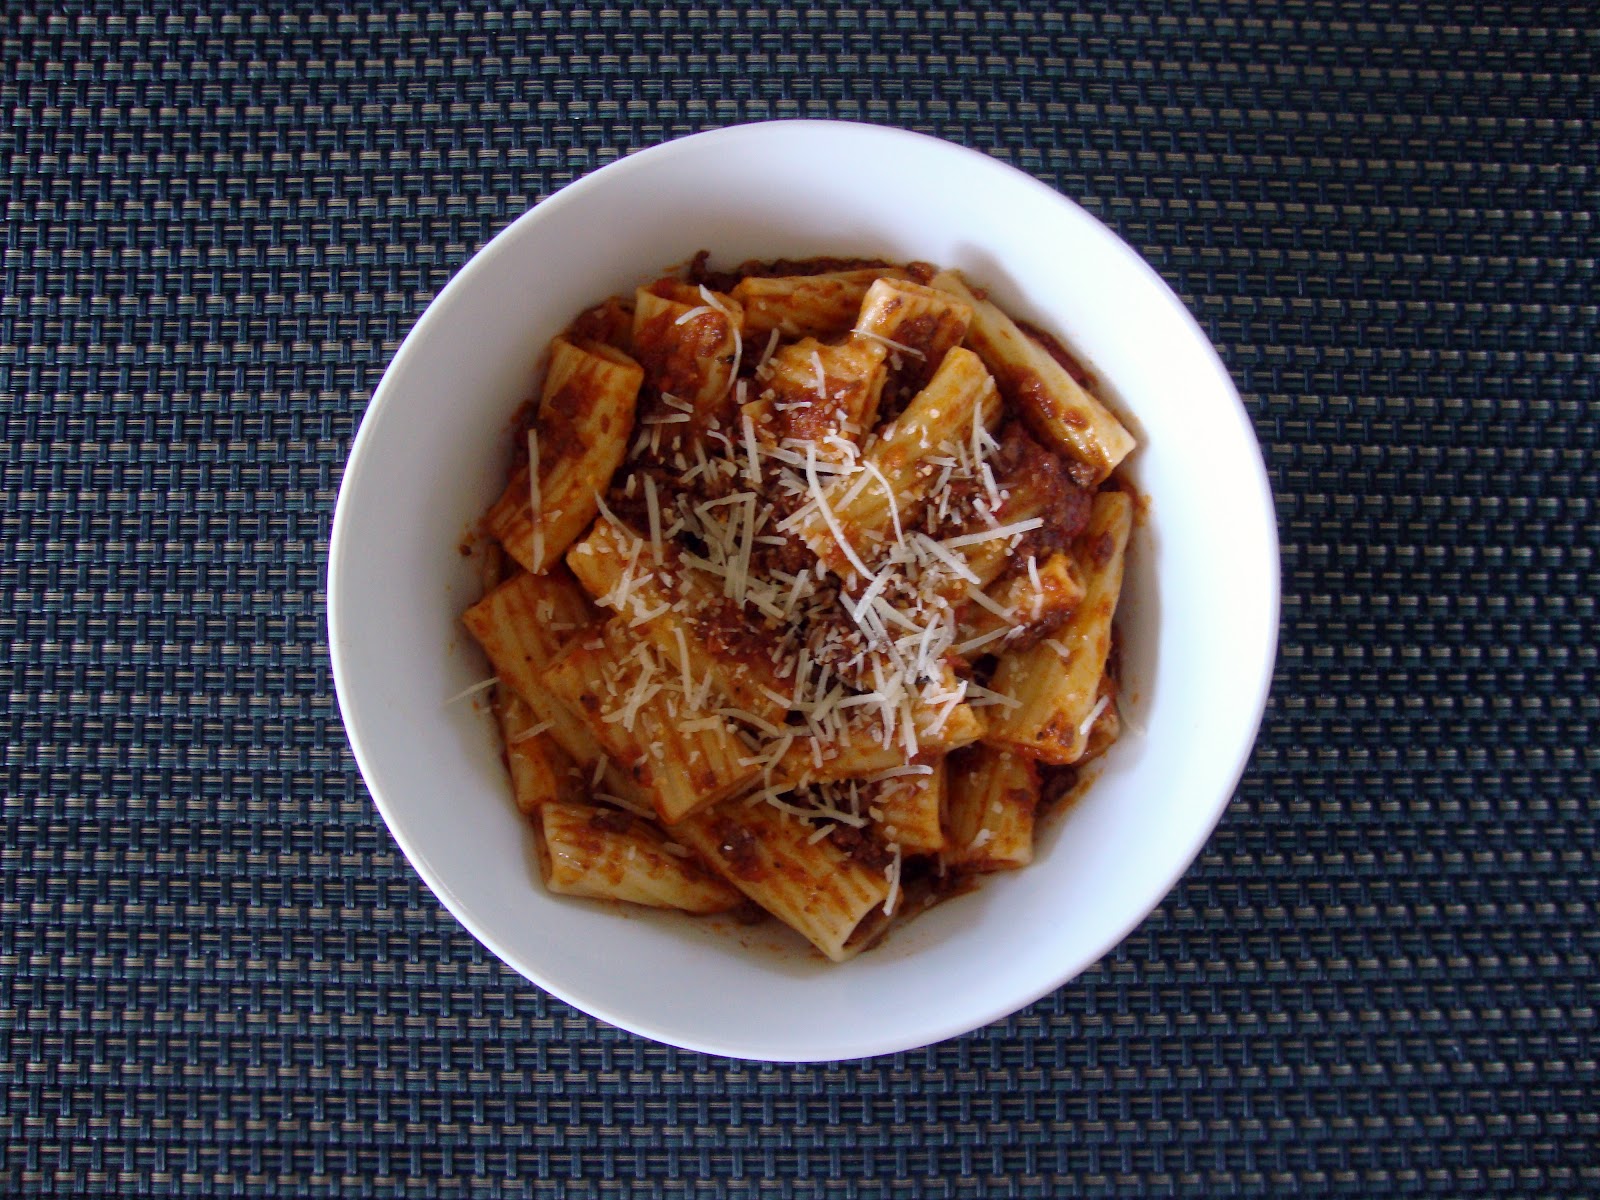
Last week I made Pasta Bolognese, and what I didn't show is that I served it with Garlic Bread. Whether or not Garlic Bread is actually served with dishes like this in Italy, it has become a great pairing. It's like shopping and becoming broke, flying on airplanes and getting little packets of peanuts, being in Seattle and wearing North Face Jackets, sitting outside on Red Square at UW and doing some good ol' fashioned people watching. Well, maybe not everything is a great pairing, but they do seem to go together.


Now, I used to get those all ready and prepared garlic breads in the foil packages that are smothered with butter which you stick into the oven and forget about it but that can't be too healthy for right? But times have changed, it's time to expose yourself to some simple garlic bread that lets the bread and garlic do all the talking. Plus, it's not even funny how much more garlic bread you get by doing it this way, and can we all say, life is just better with more bread?


I've seen this method of garlic bread many times on TV so I don't really call it a recipe. It's more like a method. Toast some bread, rub some garlic, spread some butter. Done, done and done. I don't know how much more simple it can get. You end up with something thats buttery, crisp, chewy and garlic-y that still has a bit of a bite to it and it's oh so good!

Garlic Bread
"Recipe" by Me

Ingredients
1 loaf of Artisan bread, (Pugliese, Sour Dough, French, etc)
2 cloves of garlic
Butter

Directions
Cut the "root end" off of the garlic cloves and simply peel off the paper skin. It's important not to smash the garlic to remove the paper skin easier. A whole, intact, clove is much easier to use in this recipe. Set aside.

Take the artisan bread of choice and using a serrated knife, cut the bread in 1/2 to 3/4 inch thick slices. At this point there are many options to take in toasting the bread. You can use a grill pan and grill the bread until golden brown, you can use a preheated oven at 350 degrees F and bake until golden brown. However, what I like to do is actually use a regular toaster since I usually only need a couple of slices of bread. Whichever you prefer, the goal is a golden brown piece of bread that's crisp on the outside, yet soft and chewy on the inside.

Take the toasted bread and while it's still hot, begin to rub the cut side of the garlic clove onto the bread. You know you've rubbed enough garlic when you do not hear the sound of the scraping garlic on the toasty bread. Immediately, spread butter on the bread and enjoy!

-Aaron John

Sunday, April 22, 2012

Pasta Bolognese


You may be saying to yourself, Pasta Bolognese? Looks just like meat sauce for spaghetti. But oh no, this stuff is way different. Well, not WAY different but it definitely is not spaghetti with meat sauce.


Unlike a regular spaghetti meat sauce which I find to be a sort of saute, dump and simmer, Pasta Bolognese takes the time to develop flavors by browning every single step from the veggies to the meat. The browning really is where all the flavor comes from and develops. By the end of the whole process, you end up with a deeply, rich sauce that's on a whole other level.


The interesting ingredient in this recipe is actually the cinnamon. After looking through tons of recipe for bolognese, a common ingredient is cinnamon or nutmeg. That may sound weird but it's definitely necessary. It adds a deep, warmth and "spiciness" that works well with the deep flavor from browning the meat. So, if you're in the mood for something other than a spaghetti meat sauce, try a Bolognese sauce. Definitely worth a Sunday dinner!

Pasta Bolognese
Recipe by Me!

Ingredients
2 tbsp olive oil
1 ½ celery stocks, roughly chopped
1 medium carrot, roughly chopped
1 medium onion, roughly chopped
3 garlic cloves, minced
1 lb ground beef
1 ½ cups red wine
1-28 ounce can crushed tomatoes
2 1/2 tsp dried oregano
2 bay leaves
1 cup water
1/8 tsp ground cinnamon
Salt and Pepper to taste

Directions 
Heat a pot with olive oil on medium heat. Meanwhile place the roughly chopped celery, carrot and onion in a food processor and pulse until finely chopped. Once the pot is hot, add your finely chopped celery, carrot and onion and cook for about 10 minutes until the liquid has evaporated and the vegetables have just begun to brown.

Add the minced garlic to the pot and cook for an additional 1 minute. Then add in the ground beef and proceed to break it up and cook for about 15 minutes. You really want the ground beef to brown in this stage. Once browned, remove any excess fat and season with salt and pepper to taste.

Deglaze the pan with the red wine and cook for about 8 minutes until the wine has reduced by half. Add the crushed tomatoes, oregano, bay leaf and water and stir to combine. Season again with salt and pepper. Cover the pot partially, reduce the heat to a medium-low, and cook for about 30 minutes until thick and rich. Once cooked, add in the ground cinnamon. Serve with pasta.

 -Aaron John

Monday, April 16, 2012

Pound Cake


I've always had a love for Pound Cake, specifically Costco's Pound Cake. Is it just me or don't you agree that Costco has the best food?! Muffins, cookies breads, and we must not forget about their $1.50 Polish Dogs at the Food Court! Try getting that at a Mariners games and you'll spend $8 without a drink. Costco is where the deals are at. Not to mention, you can have a whole meal just trying their free samples! But, enough about their Hot Dogs and free samples, it's all about the Pound Cake today.


There's just something about Costco's Pound Cake that I love. It's soft, moist, has a tender crumb and tastes of butter and vanilla. It's so simple, yet so good and addicting. In order to replicate it, I started my "recipe testing" with a Pound Cake recipe I used for my Cinnamon Roll Pound Cake Coffee Cake. This Pound Cake comes from Tish Boyle. I loved the texture of it in my Cinnamon Roll Pound Cake Coffee Cake but needed to try it in loaf form.


The results were, well, interesting. I felt that in the loaf form it became very dense, eggy and on the verge of dry, not like Costco's Pound Cake at all. I find that cakes that use butter as its base usually, if not all the time, come out with a cake thats on the dryer side than desired. It was fine in my other application of the recipe but it just didn't match the quality of a Costco Pound Cake. On to the next recipe!

Pound Cake 

Ingredients
2 cups sifted cake flour
1/4 teaspoon baking powder
1/4 teaspoon salt
1 cup unsalted butter, softened
1 1/4 cups granulated sugar
4 large eggs
1 tablespoon finely grated lemon zest
1 tablespoon vanilla extract
1/3 cup heavy cream

Directions
Position a rack in the center of the oven and preheat the oven to 325°F. Grease the bottom and sides of a 9 1/2 x 5 1/2-inch loaf pan. Dust the pan with flour and set aside.

In a medium bowl, sift together the flour, baking powder, and salt. Whisk to combine well and set aside.

In the bowl of an electric mixer, using the paddle attachment, beat the butter at medium speed until very creamy, about 2 minutes. Gradually add the sugar and beat the mixture at medium-high speed until very light, about 4 minutes. Reduce the speed to low and add the eggs one at a time, beating well after each addition and scraping down the sides of the bowl occasionally (the mixture should look curdled at this point). Beat in the lemon zest and vanilla extract. Add the flour mixture at low speed in three additions, alternating it with the heavy cream in two additions. Mix just until the flour is incorporated.

Scrape the batter into the prepared pan and smooth the top. Bake the cake for 60 to 70 minutes, until a cake tester inserted into the center of the cake comes out clean. Cool the cake before slicing and serving.

-Aaron John

Saturday, April 7, 2012

Madeleines


This week has been pretty good to me. For one, I was featured on Yummly yesterday for my post on Sticky Buns. Who would have thought that that post from 2010 would make a site like Yummly? I know I didn't even think of it. Thanks Yummly!  


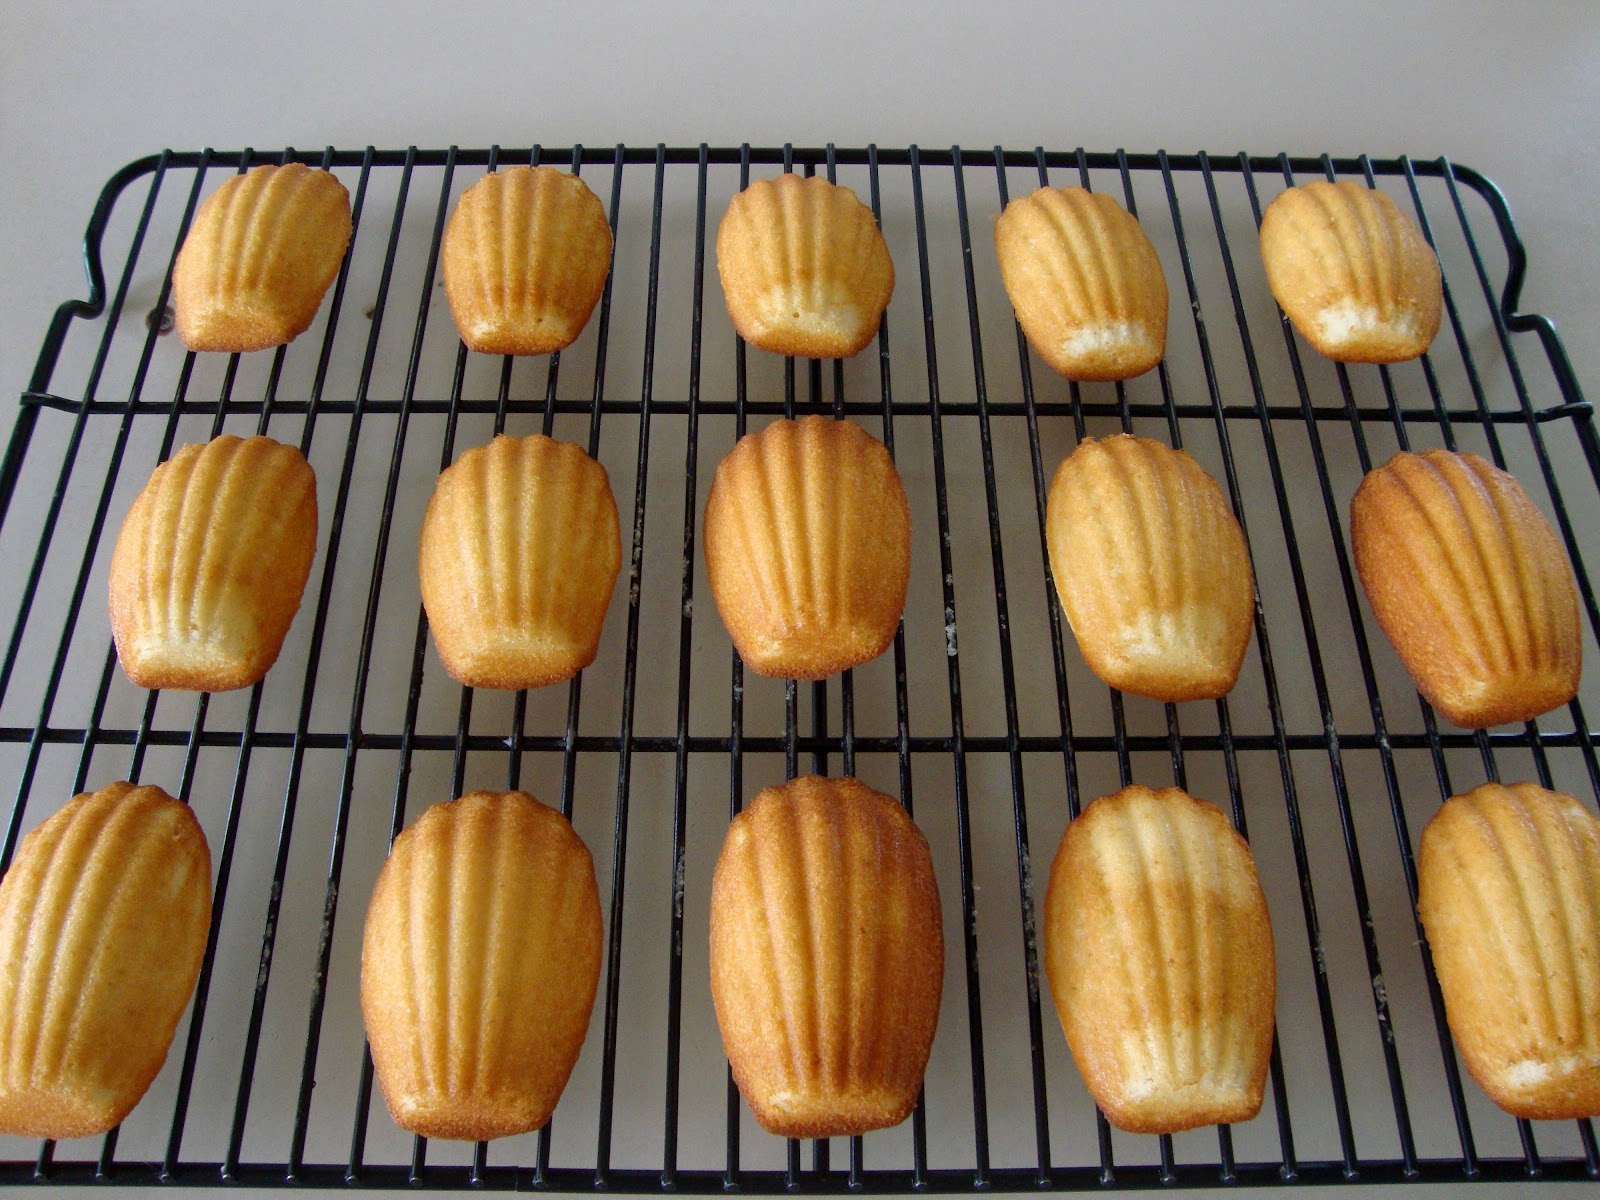
In addition to being featured, I was finally able to work with one of the new tools I got from Williams-Sonoma, the Madeleine Pan. I can't tell you how long I've wanted to make Madeleines, it must have been a couple of years. There's just something about the shape that I found pretty fascinating. Usually, I'm against buying something that is not a multi-tasker/can only be used for one thing but for this I made an exception.


These Madeleines were crispy on the outside and cakey in the center. However, when my parents ate one, they were confused as to why the whole thing wasn't crunchy like a cookie. Apparently back in the Philippines, they have something called a "Butterfinger" (no, not the candy) that's similar in shape to Madeleines but are crunchy like a Pepperidge Farm Milano Coookie. Time to search for that recipe!

Madeleines
Recipe by Ina Garten
Makes 24 Madeleines

Ingredients
1 1/2 tablespoons melted butter, to grease the pans, plus 1/4 pound (1 stick) unsalted butter, melted and cooled
3 extra-large eggs, at room temperature
2/3 cup sugar
1 teaspoon pure vanilla extract
1 cup all-purpose flour
1/4 cup cornstarch
1/2 teaspoon baking powder
1/4 teaspoon kosher salt
1/3 cup sweetened shredded coconut
Confectioners' sugar, optional

Directions
Preheat the oven to 375 degrees F. Thoroughly butter and flour the madeleine pans.

In the bowl of an electric mixer fitted with the paddle attachment, beat the eggs, sugar, and vanilla on medium speed for 3 minutes, or until light yellow and fluffy. Add 1/4 pound of butter and mix. Sift together the flour, cornstarch, baking powder, and salt, and stir into the batter with a rubber spatula. Stir in the coconut.

With a soup spoon, drop the batter into the pans, filling each shell almost full. Bake the madeleines for 10 to 12 minutes, until they spring back when pressed. Tap the madeleines out onto a baking pan lined with parchment paper and allow to cool. Dust with confectioners' sugar, if desired.

-Aaron John

Saturday, March 31, 2012

Spinach Quiche


There are many misconceptions out there. One of them I always hear, and heard again this week, was "Seattleites Don't Carry Umbrellas". The funny thing about this is, those that actually say and believe in this phrase are always the people who walk into class looking like a lost, wet dog. I'm sorry, but that is not a very attractive look. For the record, I always carry an umbrella. They can say I'm not a "True Seattleite" all they want but I at least I stay drier and look better than them. ha.


This leads me to this post of Spinach Quiche. They say "Real Men Don't Eat Quiche" and I say, those people who believe in this saying are missing out. It's one thing to eat it and not like it and it's a totally different thing if you have never tasted the glory that is Spinach Quiche. The flaky crust, the soft eggy center, the tanginess from the cheese and the slight al-dente quality of the spinach and the onions all make for one great combination. If Spinach Quiche is not "manly" enough for you, there are bacon and cheddar quiches out there. You have to try it at least once in your life. 


Now the big question is, where the heck do all these sayings come from? When you think about them, they make no sense! They begin to govern our lives in a way that prevents us from doing what we want to do because we fear the judgements of others. I say forget these sayings, stop using them as an explanation to your current situation and just live your life! We only have one life to live, so live it the way YOU want. And hey, if you're a Seattleite that enjoys looking like a wet dog, have at it. Can I get an Amen?! ha.

Spinach Quiche
Recipe from The Faux Martha
Ingredients
Crust
1 1/4 c. all-purpose flour
1/2 tsp. sea salt
1/2 tsp. sugar
1/2 c. (1 stick) unsalted butter, chilled and cut into small pieces
2 to 4 tbsp. ice water

Filling
3 oz. cream cheese, room temperature
1/3 c. half and half
3 large eggs
10 oz. package frozen chopped spinach, thawed and drained
1/2 c. grated cheddar
1/4 c. grated parmesan
1/2 large sweet onion, finely diced
1/4 tsp. sea salt
1/4 tsp. pepper
1 tsp. olive oil

Directions

Prepare the crust by preheating the oven to 425°.

In a large bowl, combine flour, salt, and sugar. Add butter into flour mixture. Combine with a pastry blender or fork until the mixture resembles coarse meal. (You can use a food processor for this step, however, cutting the butter in by hand lends for a flakier crust.)

Add cold water 1 tablespoon at a time, mixing with pastry fork until dough holds together without feeling wet or sticky. Gather dough into ball. Flatten into disc, and cover with plastic wrap. Transfer to refrigerator, and chill at least 1 hour or freeze for 15 minutes. (Dough can be stored, frozen, up to 1 month.)

Roll out dough to fit the size of a round, removable bottom, tart pan. Add flour to surface to keep dough from sticking. Work quickly as the dough will get warm, making it harder to handle. Flash freeze (place in freezer for 5 min) if it gets too warm. Press the dough into the tart pan.

Roll the extra dough off with a rolling pin. Fix any holes in your dough. (I use a little water and extra dough to help mend the holes.)

Add pie weights or beans to crust and bake for 10-15 minutes. (You can skip this step and bake the crust and filling at once. I prefer to bake my tart shell first. That way I can ensure my crust will be cooked all the way through.)

Prepare the filling by sauteing diced onions in olive oil with a dash of salt until translucent.

Meanwhile, beat cream cheese in medium bowl until smooth. Gradually beat in eggs and half and half. Mix in remaining ingredients. Pour egg mixture into prepared crust.

Bake until filling is set, 20–25 minutes. Cool 10 minutes before serving.

-Aaron John

LinkWithin

Related Posts with Thumbnails