Can it really be? Has AJ really posted something new?! I know, I know. It's been almost a century, or so it may seem, since I dusted off my old blog and actually put out a blog post. Well here's one to finally post about. I tell you, being a full time student, working part time and the endless amount of work I have to get done, it's almost becoming impossible to blog on a weekly basis as I have before. Though my blog post will become sparse over this school year, I'll do my best to post as often as I can.
First of all, I hope everyone had a great Thanksgiving. I hope it was full of the three F's, friends, family and food. My Thanksgiving was mellow and consisted of me cooking the whole meal! Most things I cooked, I blogged about once before such as Prime Rib and Roasted Garlic and Rosemary Focaccia, but this year, I added a new vegetable dish that embodies fall flavors, a Southern Italian Ratatouille by Michael Chiarello.
This dish is something really earthy. It's somewhat tangy from the tomatoes, the veggies still have a nice crispness to it and the flavor of thyme and basil run through the whole dish. Definitely delicious and worked wonderfully with the Thanksgiving meal. Just make sure you thoroughly brown the veggies. In the word of Anne Burrell "Brown food tastes good". Otherwise, you'll just have steamed vegetables, and we can all agree, that's just blehhhh.
Souther Italian Ratatouille
Ingredients
5 tablespoons extra-virgin olive oil
1 1/2 cups thinly sliced fresh wild or domestic mushrooms
Gray salt
Freshly ground black pepper
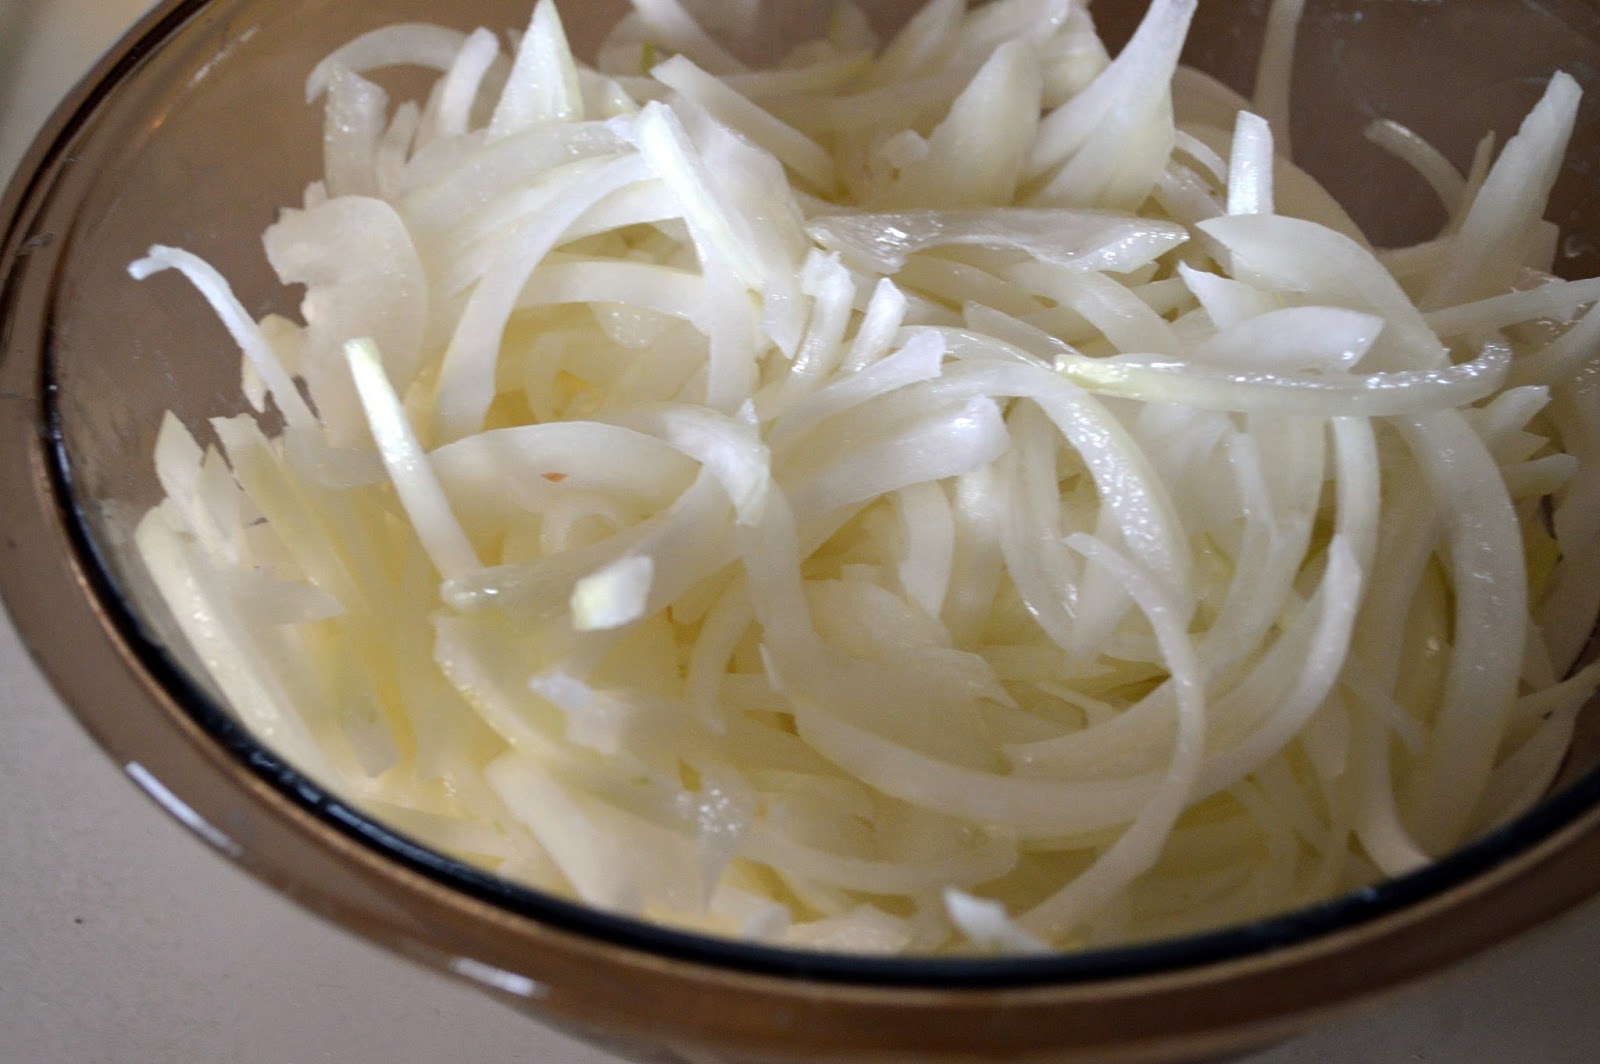
1 onion, diced
1 tablespoon plus 1 teaspoon minced garlic
1/2 pound yellow squash, cut into 1/4-inch dice, about 1 1/2 cups
1/4 cup diced red bell pepper, cut into 1/4-inch dice
3 tablespoons finely chopped fresh thyme leaves
1/2 pound zucchini, cut into 1/4-inch dice, about 1 1/2 cups
1/2 cup thinly sliced leek, white part only
3/4 cup peeled, seeded, and chopped vine-ripened tomatoes, about 1/2 pounds
1 cup loosely packed baby spinach, sliced
2 tablespoons coarsely chopped fresh basil leaves
1/4 cup freshly grated Parmesan
Directions
Heat 2 tablespoons of the olive oil in a large skillet over medium-high heat until hot. Add the mushrooms and cook, without moving them, until brown on 1 side, about 1 minute. Continue to saute for another 1 to 2 minutes. Season mushrooms with salt and pepper and pour onto cookie sheet to cool. Set used pan aside.
In a separate, clean skillet, heat 1 tablespoon oil over medium heat. Add minced garlic. Cook until golden brown, about 1 to 2 minutes. Add onion and cook until softened, about 5 minutes. In the pan where the mushrooms were, add 2 tablespoons olive oil over medium heat. Add yellow squash. Cook until browned, about 1 to 2 minutes and drain onto same cookie sheet with mushrooms.
Place peppers in hot pan where squash was cooking, sprinkle with 2 tablespoons of thyme. When heated thoroughly, add peppers to waiting mushrooms and yellow squash. Add zucchini to the same pan, add remaining thyme, cook until browned, about 2 minutes. Pull both pans (onions and zucchini) off the heat, and add to cookie sheet with other vegetables.
In the former zucchini/mushroom pan, cook leeks to soften, about 2 minutes. In the other, bring the tomatoes to a simmer. Season the leeks with salt and pepper, to taste, and add spinach. When spinach is wilted, add cooked leeks to cooling vegetables on cookie sheet. Add basil to the tomatoes, then add tomatoes to cookie sheet. Stir gently, and top with Parmesan and serve.
-Aaron John